
After a bit of a blogging hiatus whilst I sorted out the photography department (sacked* the husband and got a remote control) I’m back with a series of three! I say “series” because the common theme is that they’re all shirts of sorts, but which will be my favourite? Read on for contestant number one…
When the lovely @sewsarahsmith announced that she was co-hosting her first sew photo challenge – #sewtogetherforsummer – there was no question that I’d do it. This was somebody who’d picked up her blog pen at the same time I’d picked up a needle and had given me so much encouragement over the last year and I’d regularly drooled over the beautifully fitted Instagram pictures of @rocco.sienna and @sewing_in_spain. Three lovely ladies with a cracking idea – this was a challenge at exactly the right time and level for me to enjoy it!
The sewoverit vintage shirt dress had been lurking at the bottom of my drawer for nearly as long as I’d had dressmaking aspirations so it was time to dust it off and take it to the ball! The ball in question being a wedding at the end of May, conveniently a few weeks before the deadline for the challenge. Birds, stones, you get the idea. I found a great (and more importantly cheap) lightweight denim to make a wearable toile, I was good to go.
And then the first of my many stalls happened. I put the pattern back in the drawer. Channeling the true spirit of procrastination, I decided to start small and make a Tilly and the Buttons Rosa shirt first. That’s right – start “small” with a pattern with princess seams, a collar stand, pointed yoke and about a thousand pattern pieces.
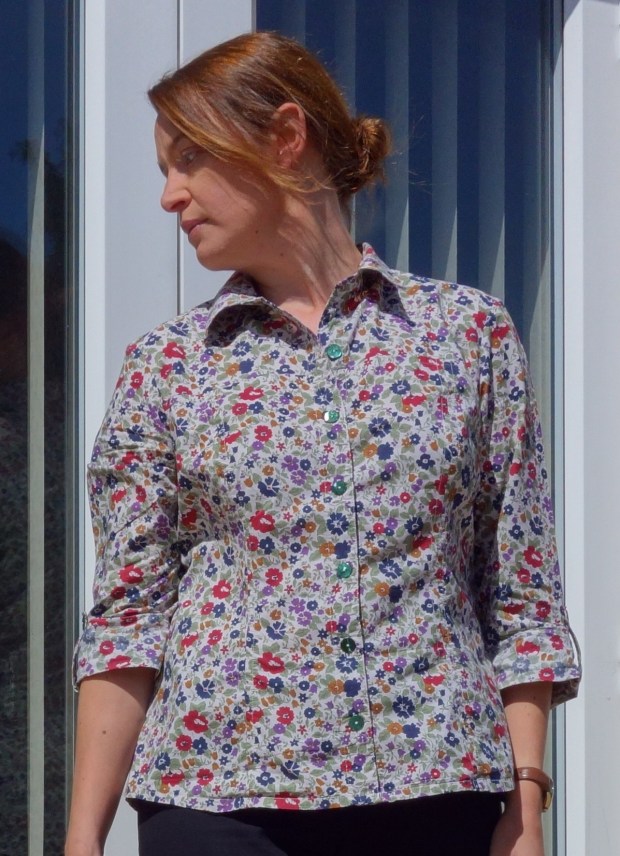
And I loved every minute of it! So much fun to make. Tilly really does make all the processes accessible to everyone. Stopping and restarting the point on the yoke is so much more controlled than trying to pivot, that really helped me understand what I was trying to achieve. I did have to have 2 run ups at the collar stand, but again was pretty pleased with it by the end.

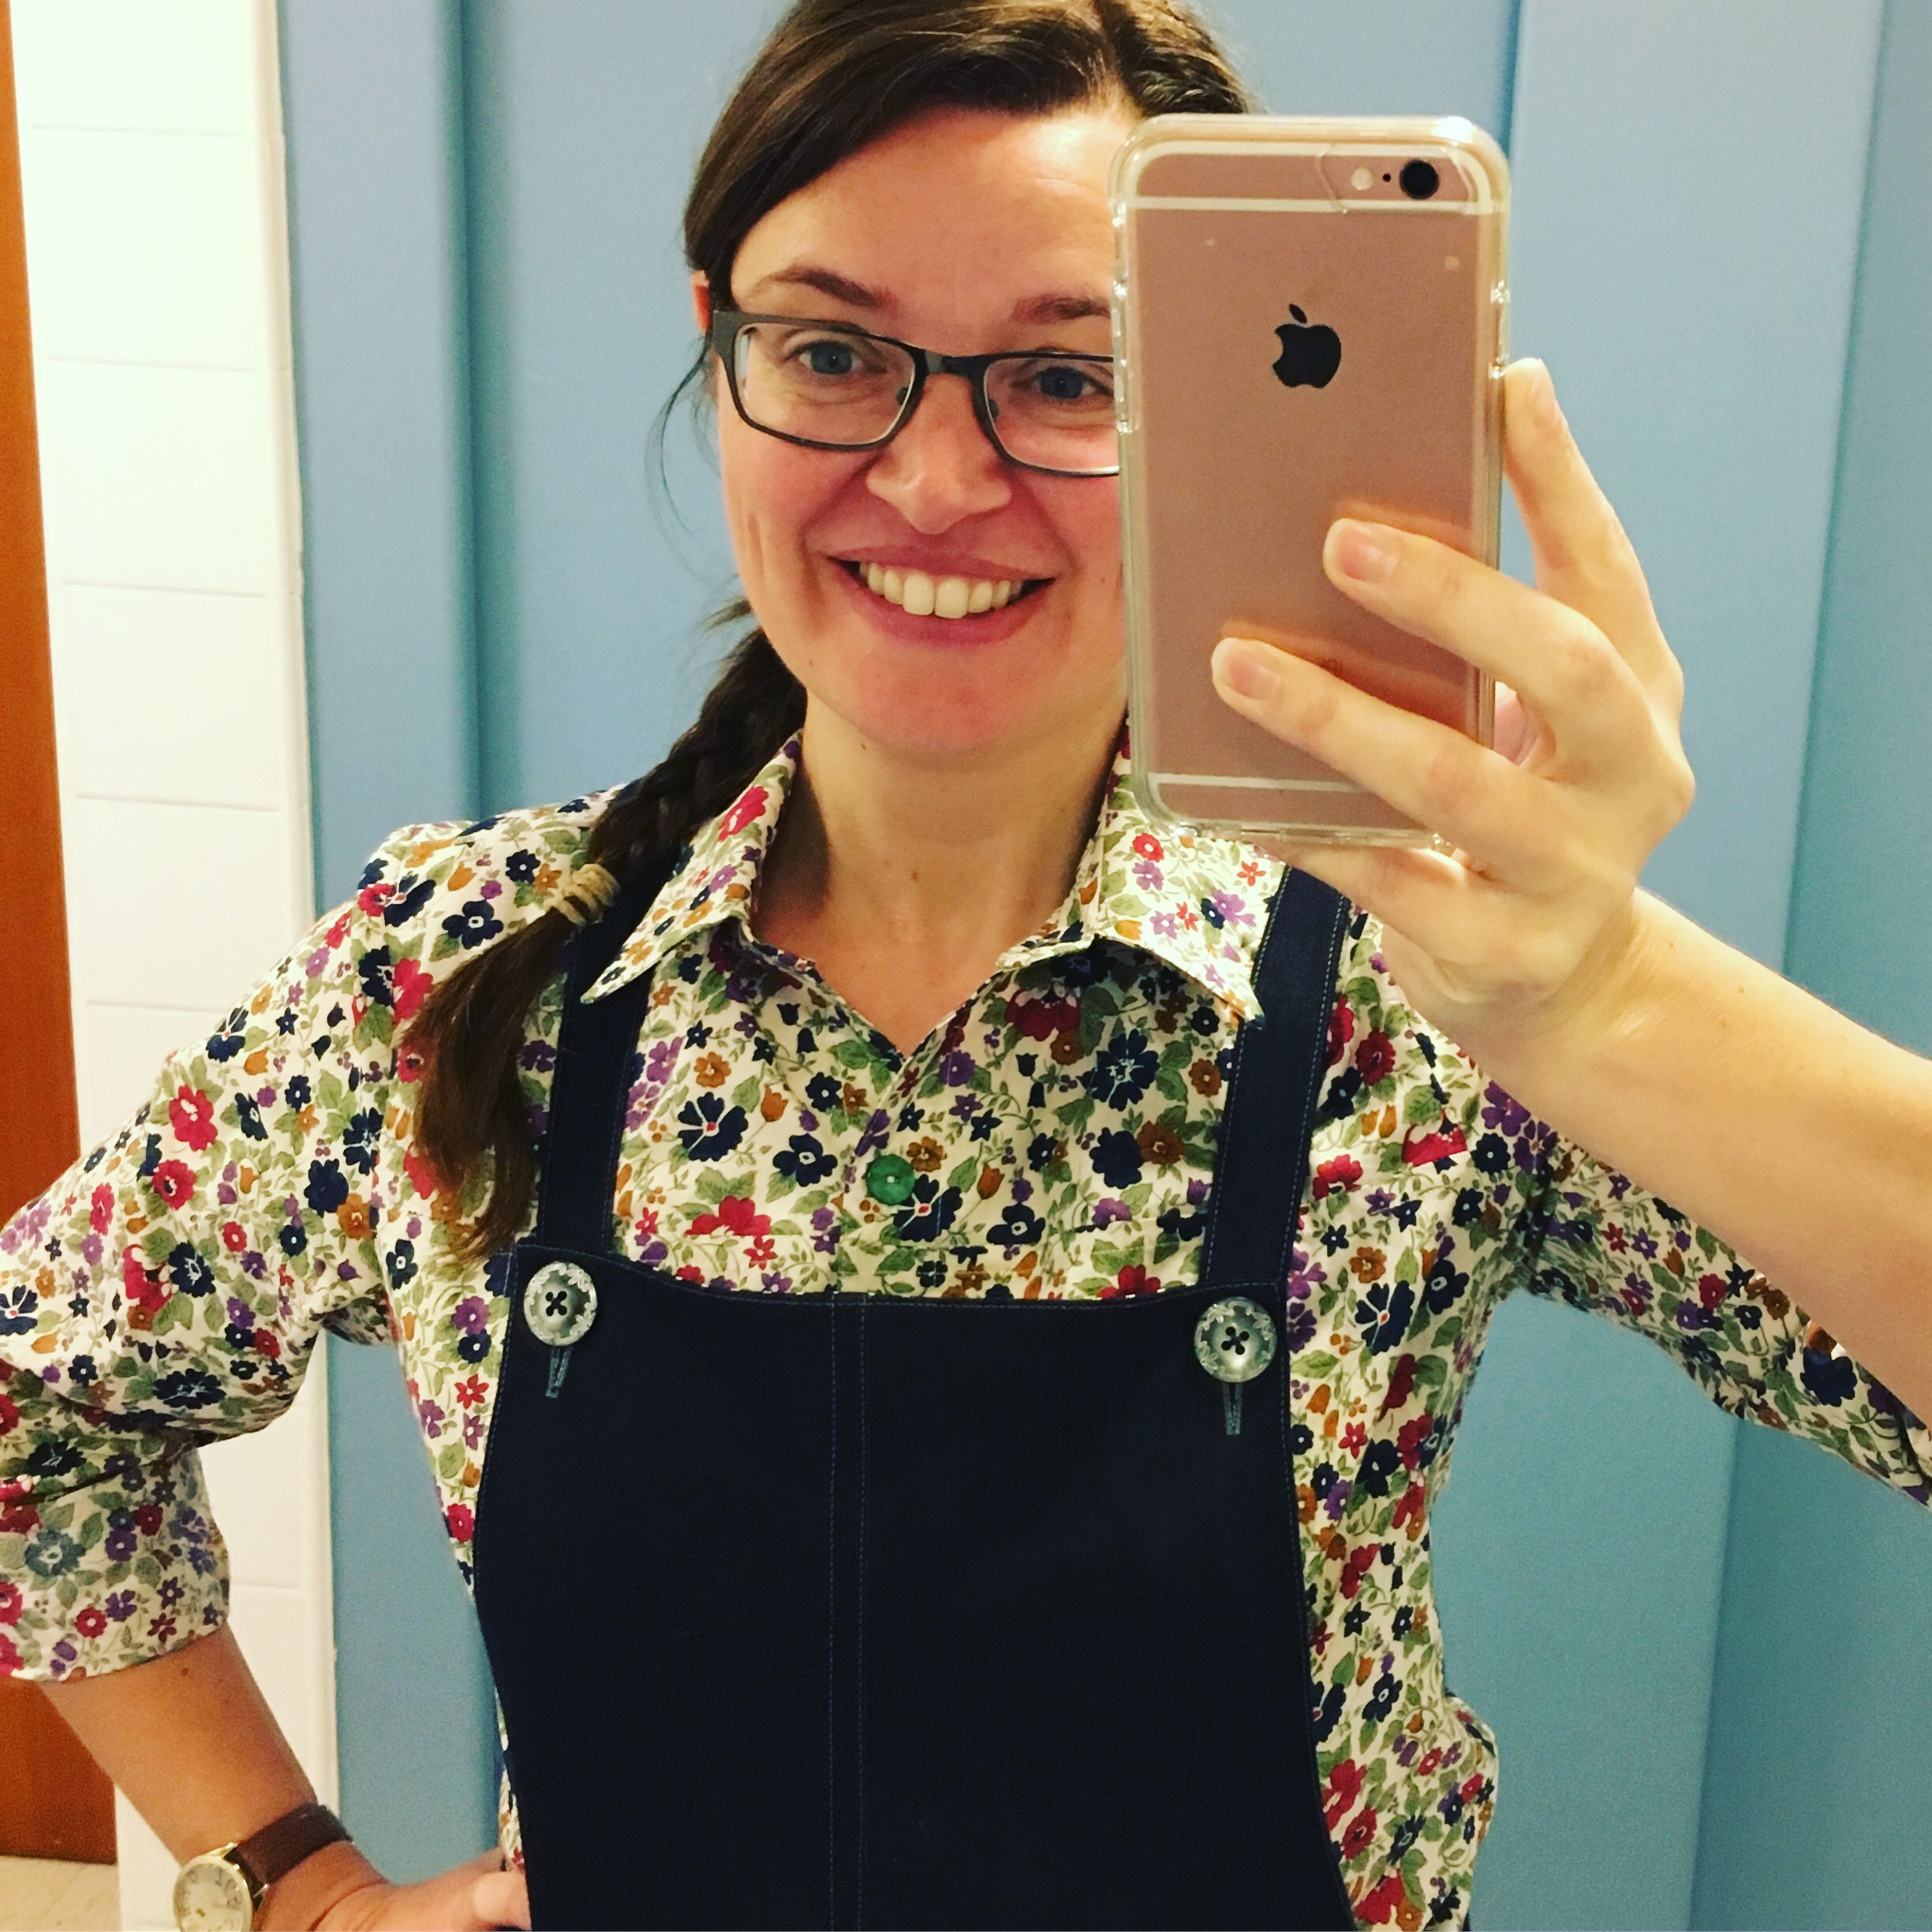
I cut a straight size 5 and didn’t have to make any adjustments at all, which surprised me given that I’m 5’8 and usually have to lengthen TATB patterns. The only change I would make another time might be to grade down a size on the hips as it is quite flared on straight up and down me, but then again it’s not hideous so I might not bother. I basically wanted a fitted shirt to wear under my work navy denim cleo and give me some waist definition, so you won’t see the hip section most of the time anyway.
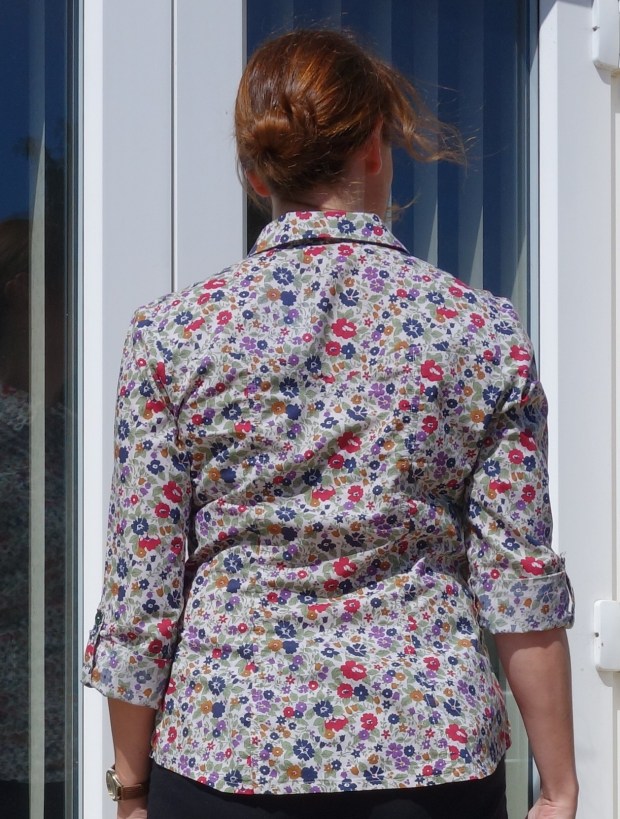
I finished all the seams on my overlocker, then mock flat felled them as the pattern suggested. It made for a really nice finish and I’ll definitely do that again. I struggled a bit with hemming the curved edge though and it has buckled a little. With hindsight I missed a trick as I do have a rolled hem foot for my Janome and should probably have used that on it. But otherwise I loved all the construction details and was just sorry I’d chosen such a busy fabric so couldn’t go to town on the top stitching opportunities.
The fabric was a cotton lawn I bought at the Knitting and Stitching Show at Olympia, only I can’t for the life of me remember which stall I bought it from. It was a fabulous day out and well worth the flight over from Jersey – next time I’ll go for 2 days and book into more workshops!
The only thing I wasn’t 100% keen on was the tabbed sleeves. Not because I don’t like the look, but purely because I find them a nightmare to iron. Next time I’ll download the sleeve placket extension and finish the sleeves off properly, so I can then promptly roll them straight up to three quarter length!

The end result was that I was pretty proud of myself and rather hooked on this shirt sewing business. Suddenly I was imagining myself with a new range of work shirts and blouses… maybe some new shirts for my husband… oh wait yes, there’s still a shirt dress waiting in the wings. When’s that deadline for #sewtogetherforsummer again?
*Sacked = purely in the photography sense. I’ve retained him in a dishwashing and general house maintenance capacity

Wonderful shirt Shelley, and it is a good idea to try out the pattern on shirt length first. I made two before I finally made my Rosa. You have definitely won round one.
before you start your vintage shirt dress, be warned. The waist is very high…i´m under 5ft 2 and I lengthened the bodice by 2cm (very unusual for me), as you are a more acceptable height you may need to add more.
Thank you for giving #sewtogetherforsummer a shout out. We are so enjoying the challenge and seeing everyone´s dresses. I´m delighted you liked our idea. Suzy xx
LikeLiked by 2 people
Thanks for the tip Suzy! Bizarrely though, I have a disproportionately short torso for my height – sitting down I’m exactly the same height as my 6 inches shorter mother!! I’ve put an extra 2.5cm on the bodice and 5cm on the length of the skirt but I’ll probably get away with that! I love reading about everybody’s modifications, just emphasises how sewing really does let you create the perfect garment for you!
LikeLike
Sorry it’s taken me so long to read this Shelley! But I’m so glad I got here in the end!! Your Rosa is fab; It’s a great way to practice construction and test fit before launching into the dress version, plus of course you ended up with a lovely shirt!
Thank you so much for the lovely words! I’ve thoroughly enjoyed following your own journey too!
As always xxx
LikeLiked by 1 person