Ever since running a marathon 3 years ago (+10 points for suavely slipping that in the conversation!!) in RTW kit I’ve dreamed of the day I can go for a long distance run in perfectly fitting memade running kit. And come back with no chafe marks…
I’ve pretty much been injured more or less consistently in the intervening 3 years so have had plenty of time to work on this sedentary goal and discovered that whilst sewing sportswear is considerably easier than you’d think, the runners holy grail of leggings that stay up, stay down and stay put remains firmly in the cave with the wizened crusader and Harrison Ford.
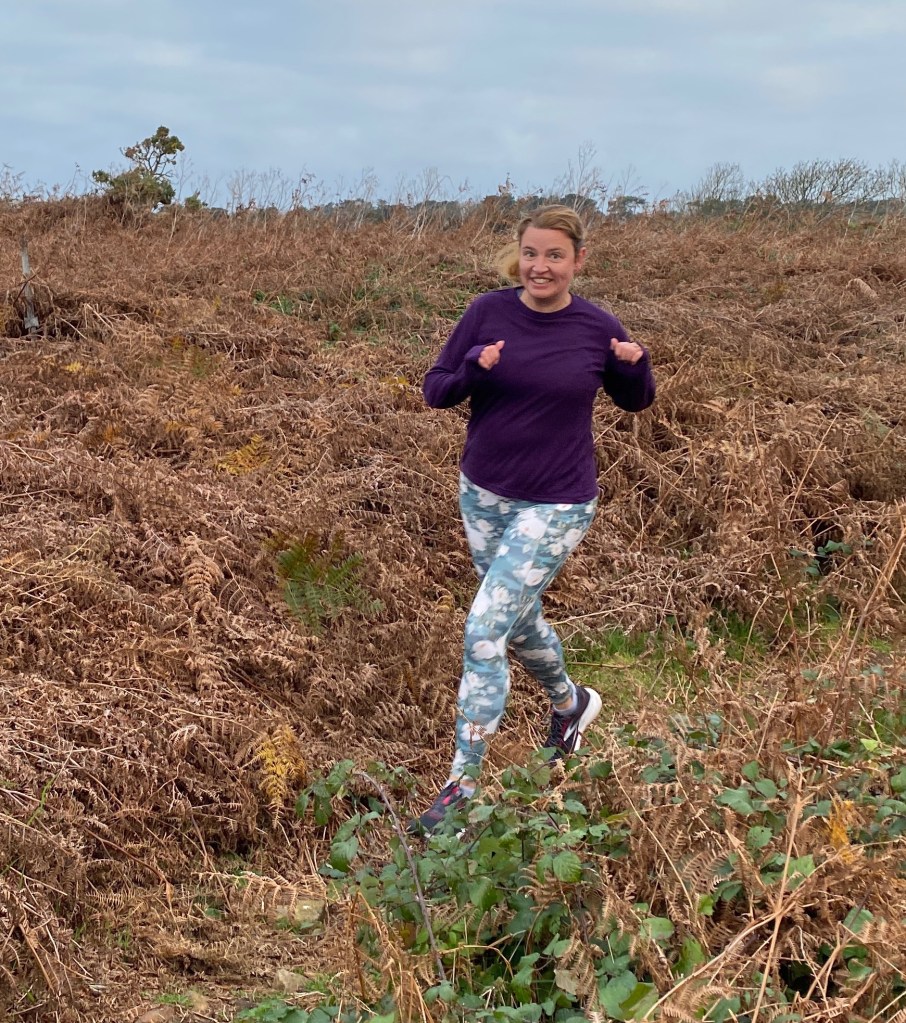
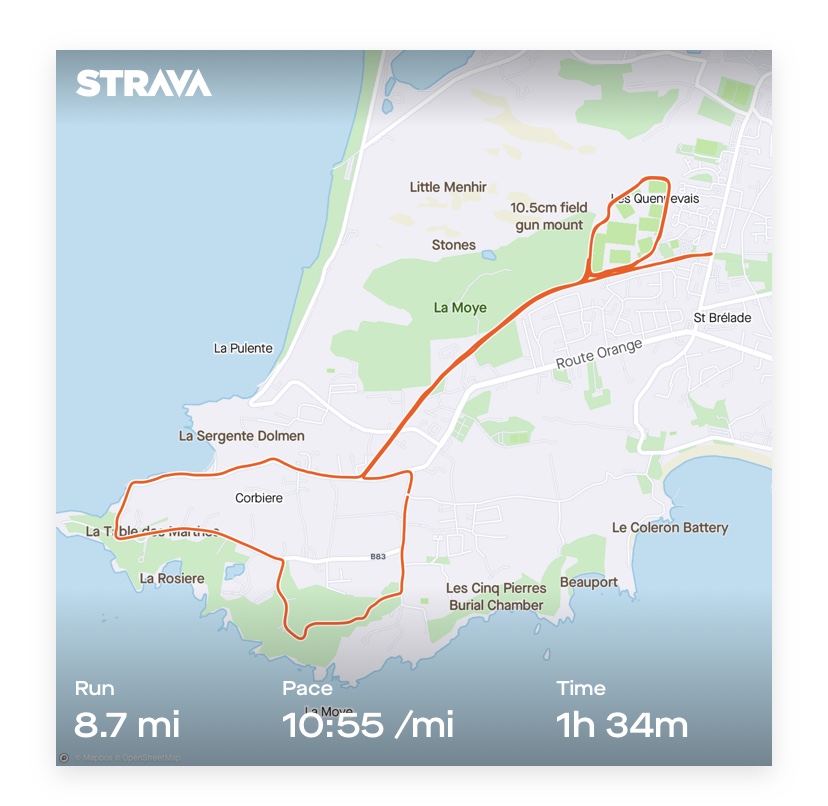
But be not afeared, for I have finally returned from the cave triumphant! And by cave I mean a 9 mile run. And I did it – pauses to enjoy the baited breath moment – in fabric with the wrong stretch percentages!
Yes that’s right, I’m here to explain to you today how I made fabric with too much stretch into the greatest pair of running leggings ever. Sadly they still don’t make me run like a gazelle but otherwise they do everything else I could want.

Let’s start with the technical bits. I really wanted to use the Wattle and Slate athleisure fabric for the leggings of my dreams. This fabric has 100% 4 way stretch. The pattern I was making was the Little Lizard King Boulder leggings which specify minimum 70% horizontal stretch and 50% vertical stretch. So clearly my beautiful floral camo had waaay too much stretch.
I’d made the boulder leggings once before (shown below) in solar stretch from Discovery Fabrics. That fabric had 70% 4 way stretch and I’d loved the fit, but sadly had to resign myself to their use being strictly gym based only. Inside 10 paces of any form of bouncing, I would feel an ominous drag beginning in 2 places: 1) in the rise and 2) through the leg. Shortly after I’d be hoiking them up at the knee, hoiking them up at the waist then doing a little shimmy to redistribute the fabric to the right body sections again. Doing this every 5 minutes can drastically affect your long run pace. And you might pull a muscle.
In order to use the 100% 4 way stretch athleisure I made 3 key alterations:
1) I cut out the next size down from my measurements
2) I cut out a shorter inseam than my measurements
3) I lined the waistband with supplex.
We’ll begin by talking about the sizing down. My original pair were a 12, so I cut out a 10 in the athleisure. Sizing down is the standard advice given throughout the sewing community when using fabric with a higher stretch percentage. It’s always felt like a bit of a hit and miss gamble to me – how do you know going down one size is enough? Will you just end up with white showing through from over stretching the printed fabric?
I still don’t really know the answers to those questions, but can confirm that one size was the correct amount to go down for a difference of 30% horizontal. The fabric wasn’t stretched to the point where it felt tight and only minimal amounts of white were visible. The finished leggings looked very small on the “holding up against yourself” test but could be pulled on deceptively easily.

Then we come to the sizing down of the inseam. Ok I admit I’m a big fraud – this was a total happy accident! I was using my projector to cut the leggings out and had the screen centred on the 28 inch inseam pattern pieces instead of the 30 inch I’d used on the first pair. But when I realised my mistake I decided to stick with it. I had suspected the dragging could have been caused by the fabric having a lot more vertical stretch than it was meant to and the athleisure had even more. And I was right! I didn’t feel any dragging anywhere on my little (did I mention it was 9 miles?) plod.
Lining the waistband with supplex. Unlike the inseam, this was intentional but forced by necessity rather than a genius idea – I simply ran out of fabric! I only had a metre of the athleisure (which is enough for leggings and a sports bra too if you want Capri length, but only just enough for full length tights). And the boulder waistband pieces are cut on the fold so the inner and outer are cut as one – which wasn’t happening with the few scraps I had left.
So I ignored the “on the fold” instruction and cut 4 of the high rise waistband pieces. 2 using my main fabric and 2 using some supplex from my stash. The supplex has a lower stretch percentage than the athleisure so I hoped it would firm up the waistband even more. I then stitched the supplex to the athleisure along the top edge of the waistband using a 1cm seam, then carried on using the instructions as before.
Some leggings patterns have you put clear elastic into the waist seam to help them stay up – the boulders leggings don’t do that as there is no waist seam. My hack would have allowed me to add it, but I’m not a fan of waist elastic in general. My straight up and down proportions mean there is no waist for the elastic to use as a “hook” to hold them up. For that to work on my frame the elastic has to be so tight it digs in uncomfortably and gives me unflattering folds of flesh where my tummy makes a bid for freedom above and below the elastic, so I really need a well fitting waistband to hold the leggings up firmly around my middle rather than rely on elastic.

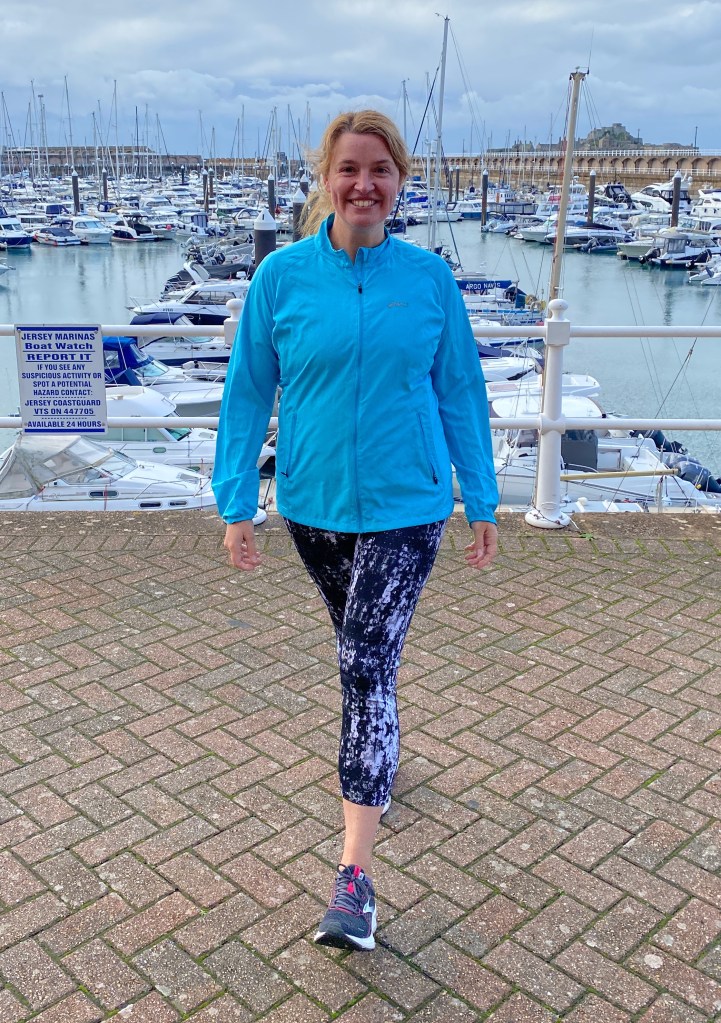
And that’s precisely what I got! These things fit snugly without feeling like you’re squeezing yourself into a sausage skin, and most importantly, don’t move! I remained in perfect comfort throughout, even when I decided to really put them through their paces and popped my hefty phone into the side pocket. They sagged ever so slightly, then girded their loins and I was able to run on with the phone safely strapped into my hip and not travelling down towards my knee with every step.
And there you have it! A super simple set of steps to solve a very big problem. I hope this helps you to make running leggings that really perform. If it does, please let me know how you get on and any other useful tips you’ve found out!
Shelley
P.S Did I mention I’ve run a marathon? 😉